Our Defender Restoration Process
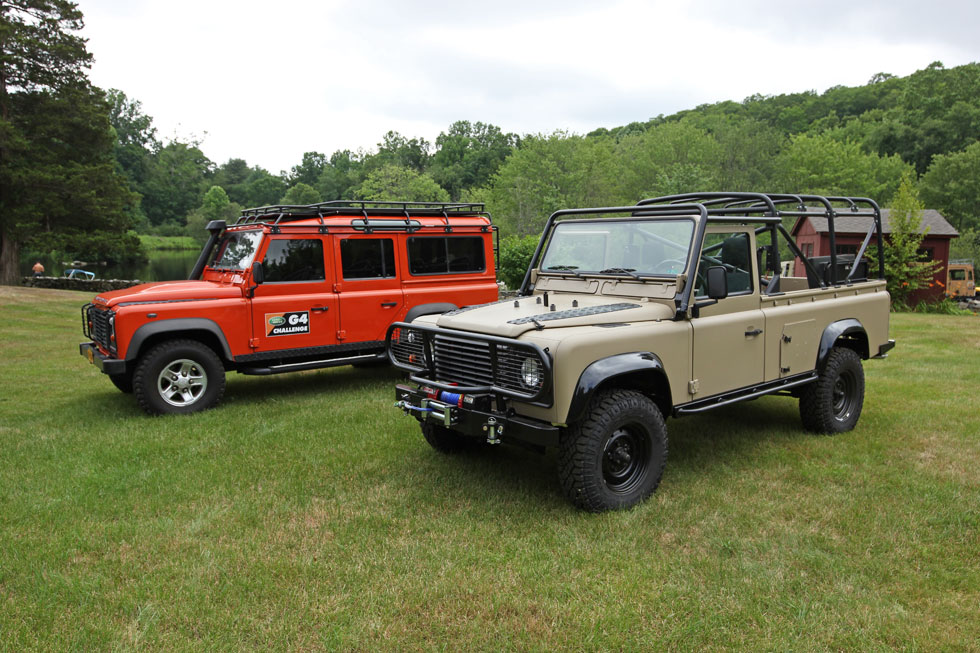
The Land Rover Defender has the timeless good looks of the Series but with a more modern drivetrain, suspension and interior. It has always been synonymous with adventure in far off places and is one of the most iconic and sought after 4x4s in the world. We can restore your Defender and upgrade it with modern amenities to enhance your ownership experience. What sets our restorations apart is our uncompromising attention to detail and craftsmanship. Your restored Land Rover will look and drive like it just rolled off the assembly line.
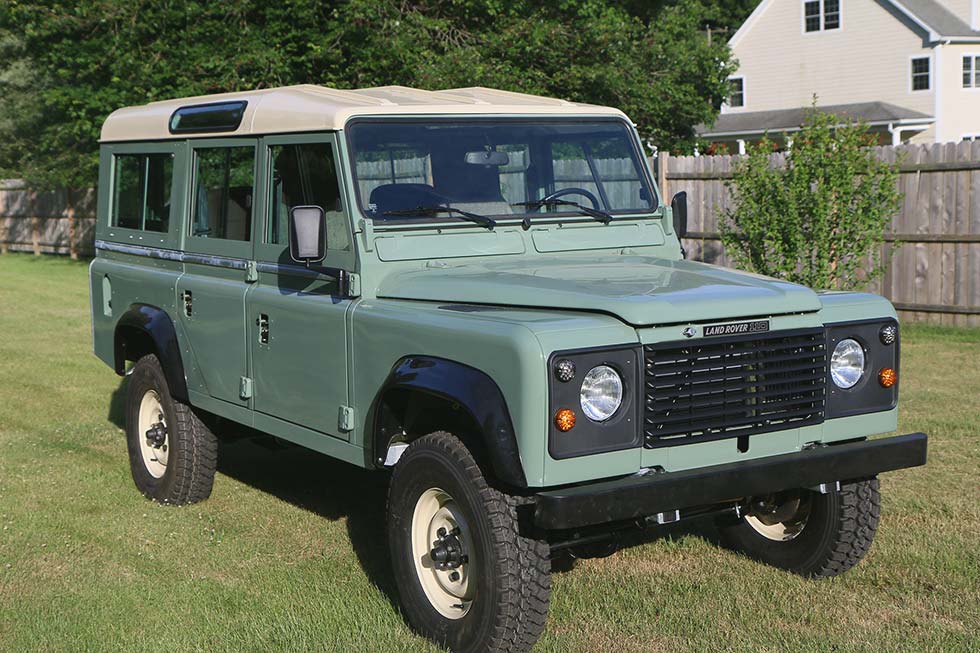
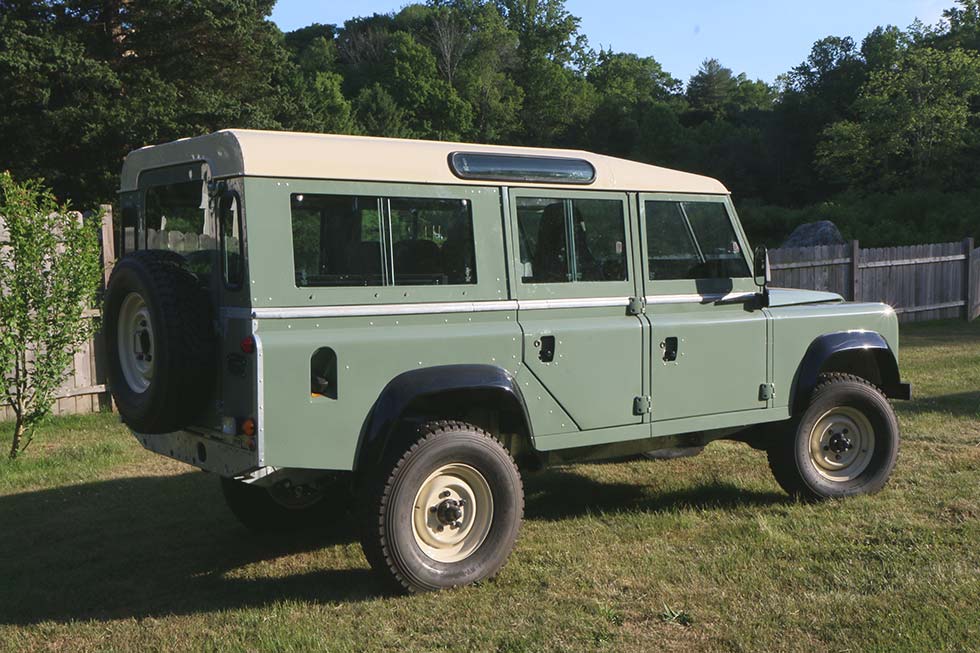
The goal of every North America Overland restoration is to produce Defender that is better than it was when it rolled off the show room floor. To get started, we will first need a restoration candidate. You can choose a Land Rover from our unrestored inventory. These Land Rovers have already been deemed satisfactory for a full restoration, simply choose a color and options and we will begin your restoration as soon as the next time slot is available. Or, you may already own a Defender that you would like restored. If this is the case then we will need to do an evaluation on it to determine its condition and suitability for restoration. If the key components on the vehicle are not in good shape we may recommend sourcing a different vehicle for the restoration. Next we will create a spec sheet, a detailed list of what will go into building your Land Rover as well as the estimated cost of the project. Once you are happy with the spec sheet then a deposit will be requested and the project agreement signed. A restoration takes one year to complete, we will divide up the project cost into 12 monthly payments and invoice you at the end of every month. Invoices can be paid by credit card, direct deposit or a check.
The project starts with a complete tear down of the vehicle. The body panels will be fully disassembled, the drivetrain removed and and suspension separated from the frame. Every rivet, nut, bolt and screw will be removed. Each body panel will be stripped to bare aluminum. Steel parts like the firewall will be sandblasted, any existing rust will be cut out and new steel panels welded in. The body panels will now be repainted. As a rule we paint both sides of every panel to help with corrosion resistance.
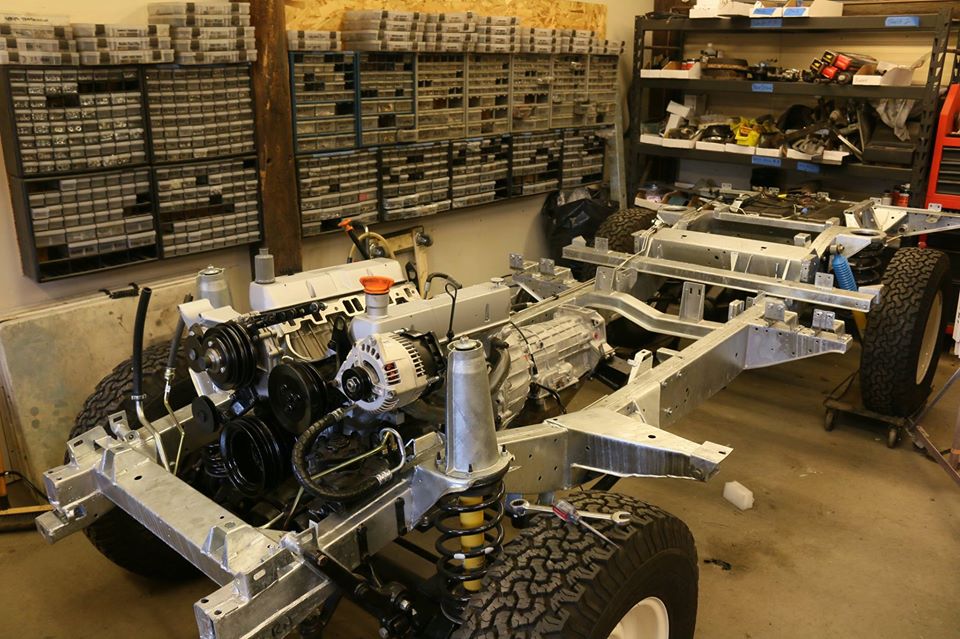
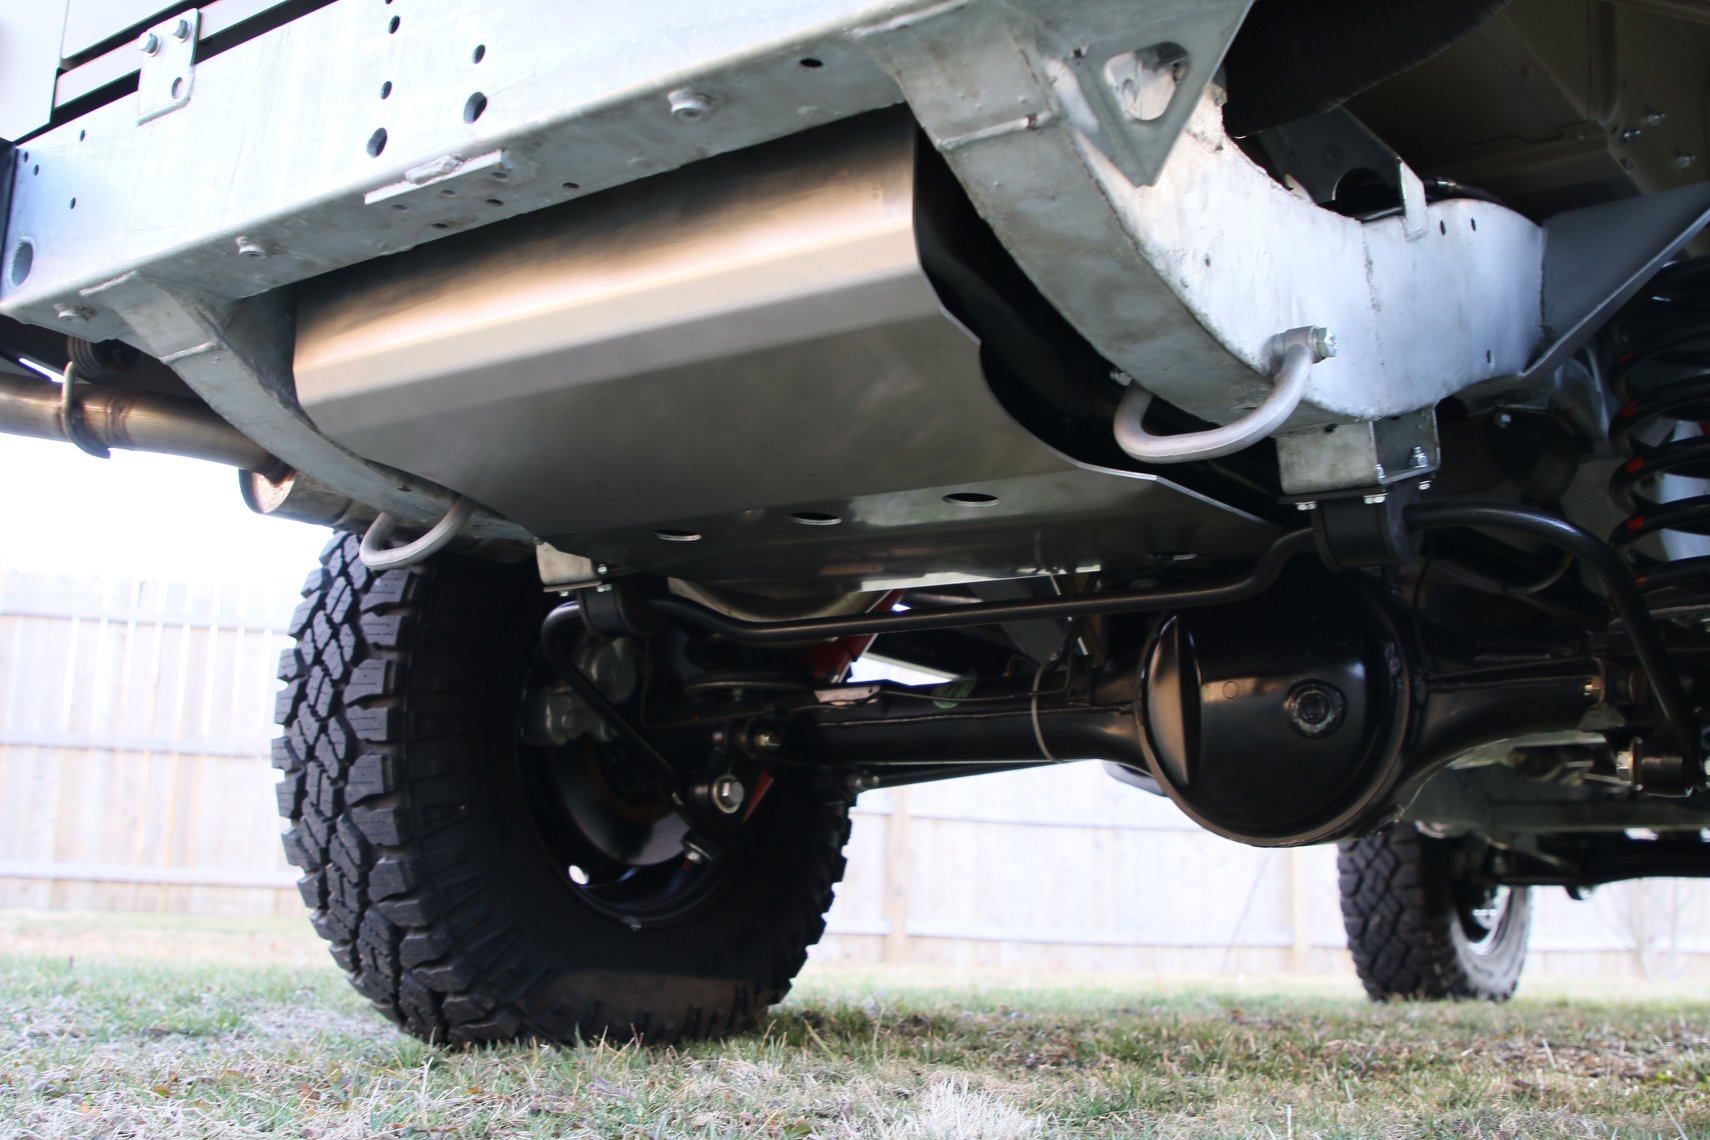
While the body panels are being prepped for paint, the drivetrain work will be begin. The boxed design of the Land Rover's frame is very strong but also susceptible to rust when road salt and mud gets trapped inside. Most original frames have some degree of rust, if this is the case, then we will use a new galvanized frame. The differentials are then rebuilt and the axle housings are sandblasted and repainted in chassis black. The swivel assemblies are also rebuilt and shimmed to the proper preload. All the bushings are pressed out and replaced. The steering box is rebuilt and all new tie rod ends installed. If it is a pre 1994 Land Rover, the brake system will be converted to the later styles front disc brakes and the rear drum brakes converted to discs. The axles are installed on new springs and damped with high quality gas shocks. A new wiring harness is run through the frame. Five new 16" wheels wheels and 235-85r16 tires are mounted to complete the rolling chassis.
The goal of the project is to build a Defender that can easily travel highway speeds and do so comfortably and reliably. To accomplish this, a modern turbo diesel engine is installed. Components like the clutch, clutch hydraulics, radiator and intercooler are replaced. After the motor is dropped into the frame rails, we will mate a rebuilt heavy duty R380 5 speed transmission to it. The stainless exhaust system and new driveshafts are then connected.
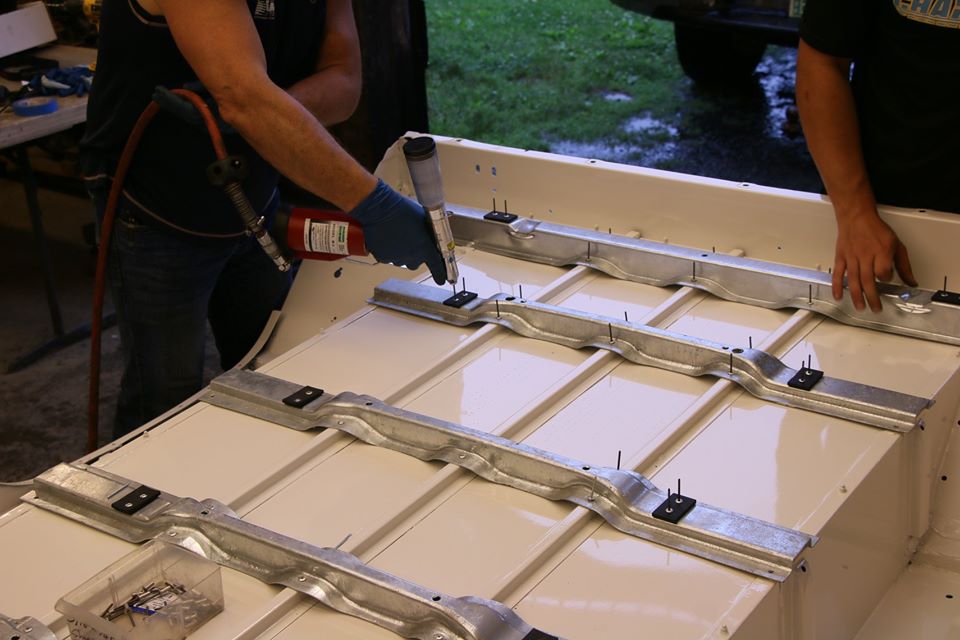
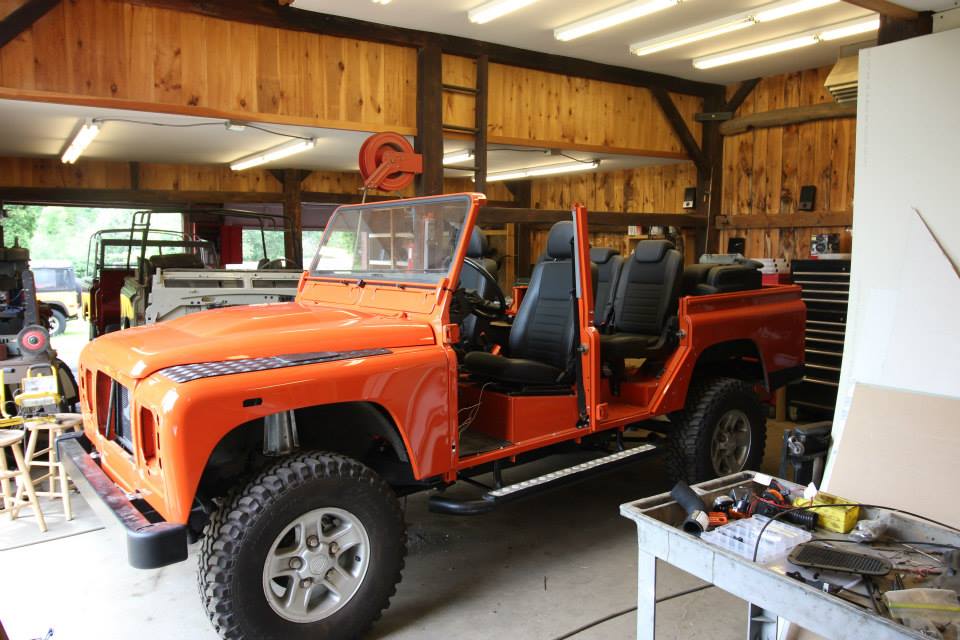
After the body panels have been painted they will be reassembled. Many steel parts that make contact with the aluminum panels are galvanized to prevent galvanic corrosion (the steel is now isolated from the aluminum with a coating of zinc). The body cappings are fastened to the freshly painted body panels using the correct rivets. Every nut, bolt, washer and rivet is replaced during the restoration. New glass is installed in the windshield frame and the doors are assembled. The bulkhead, tub and roof are installed on the frame, the doors are then hung and the bulkhead and tub shimmed and adjusted for optimum door fit. All new rubber window seals and door weatherstripping is installed. Finally sound deadening is fitted to block road and drivetrain noise from transmitting into the interior.
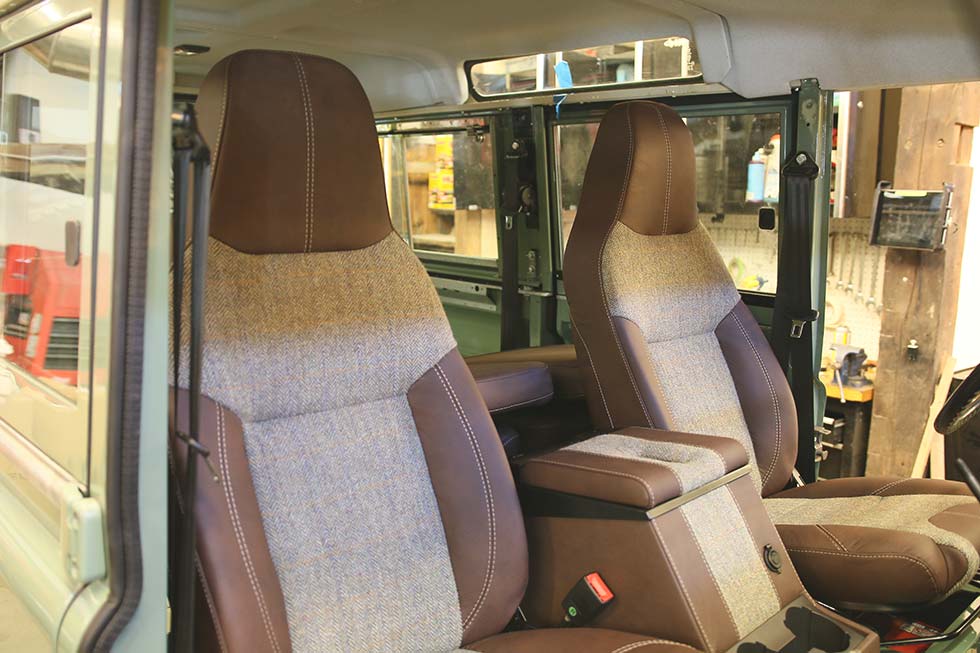
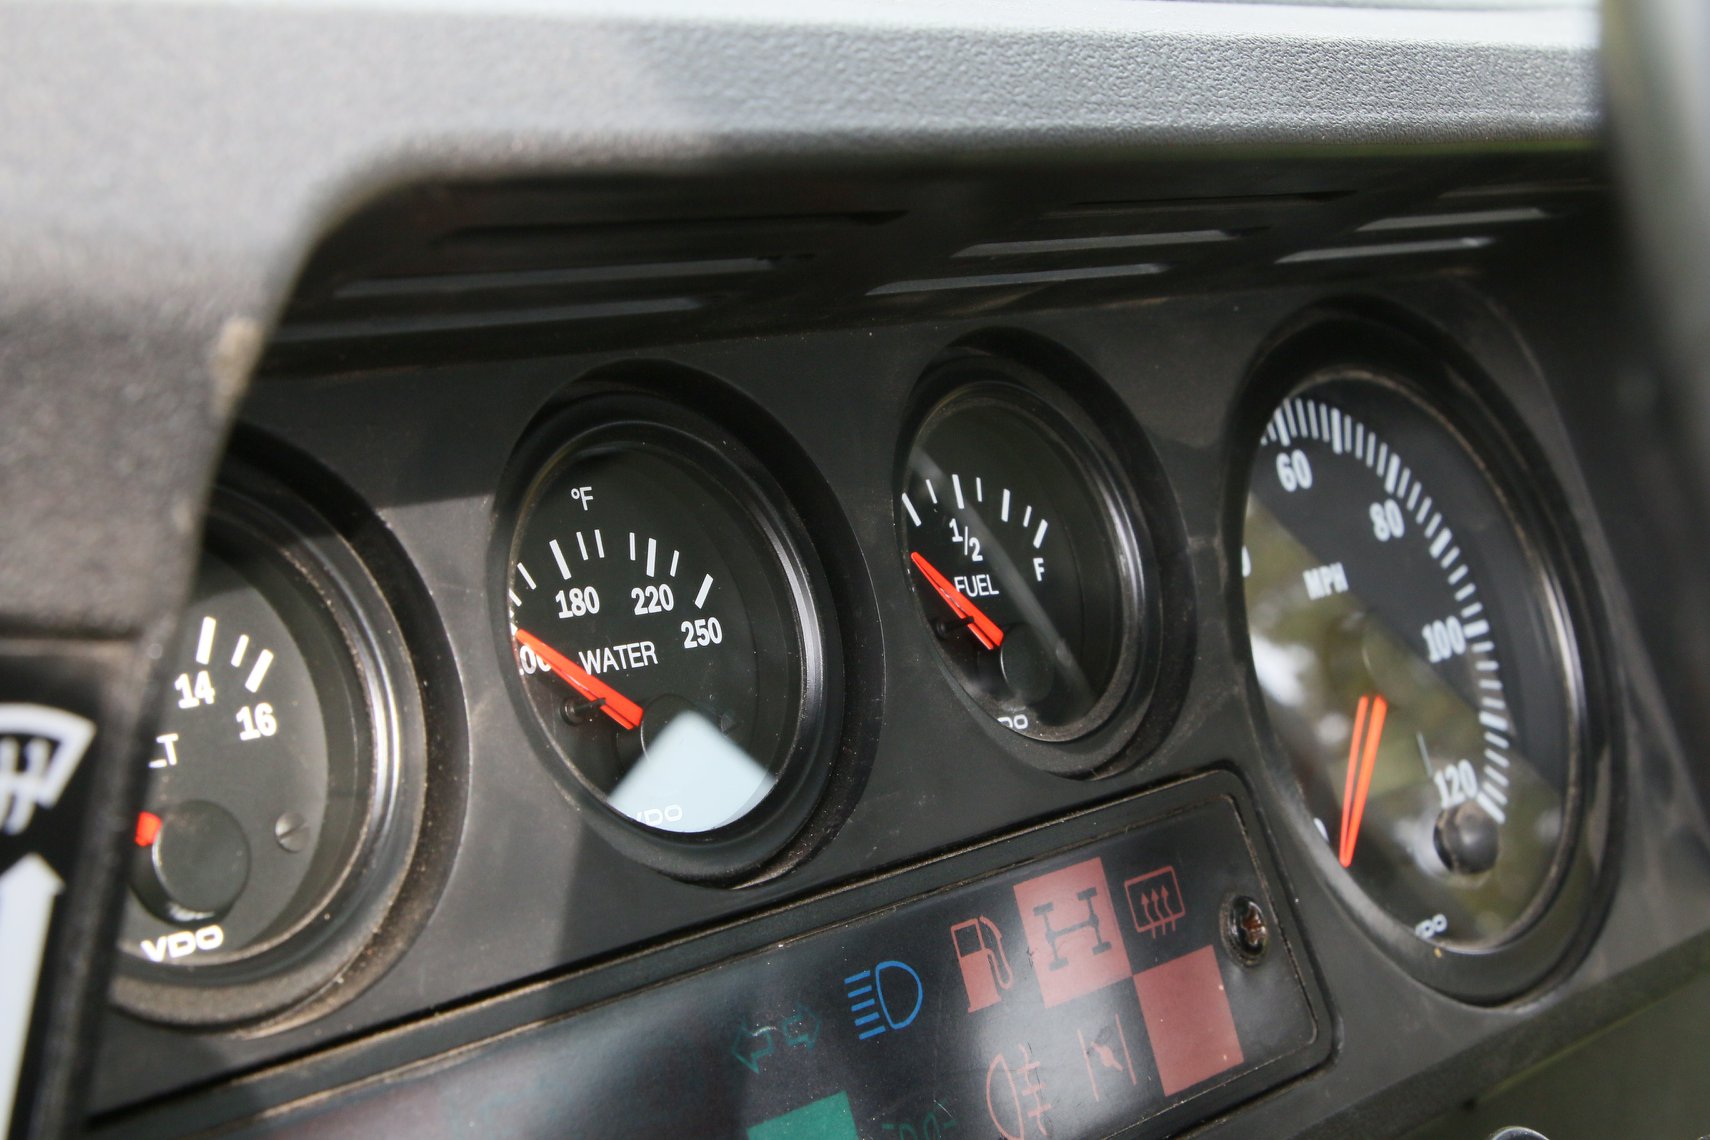
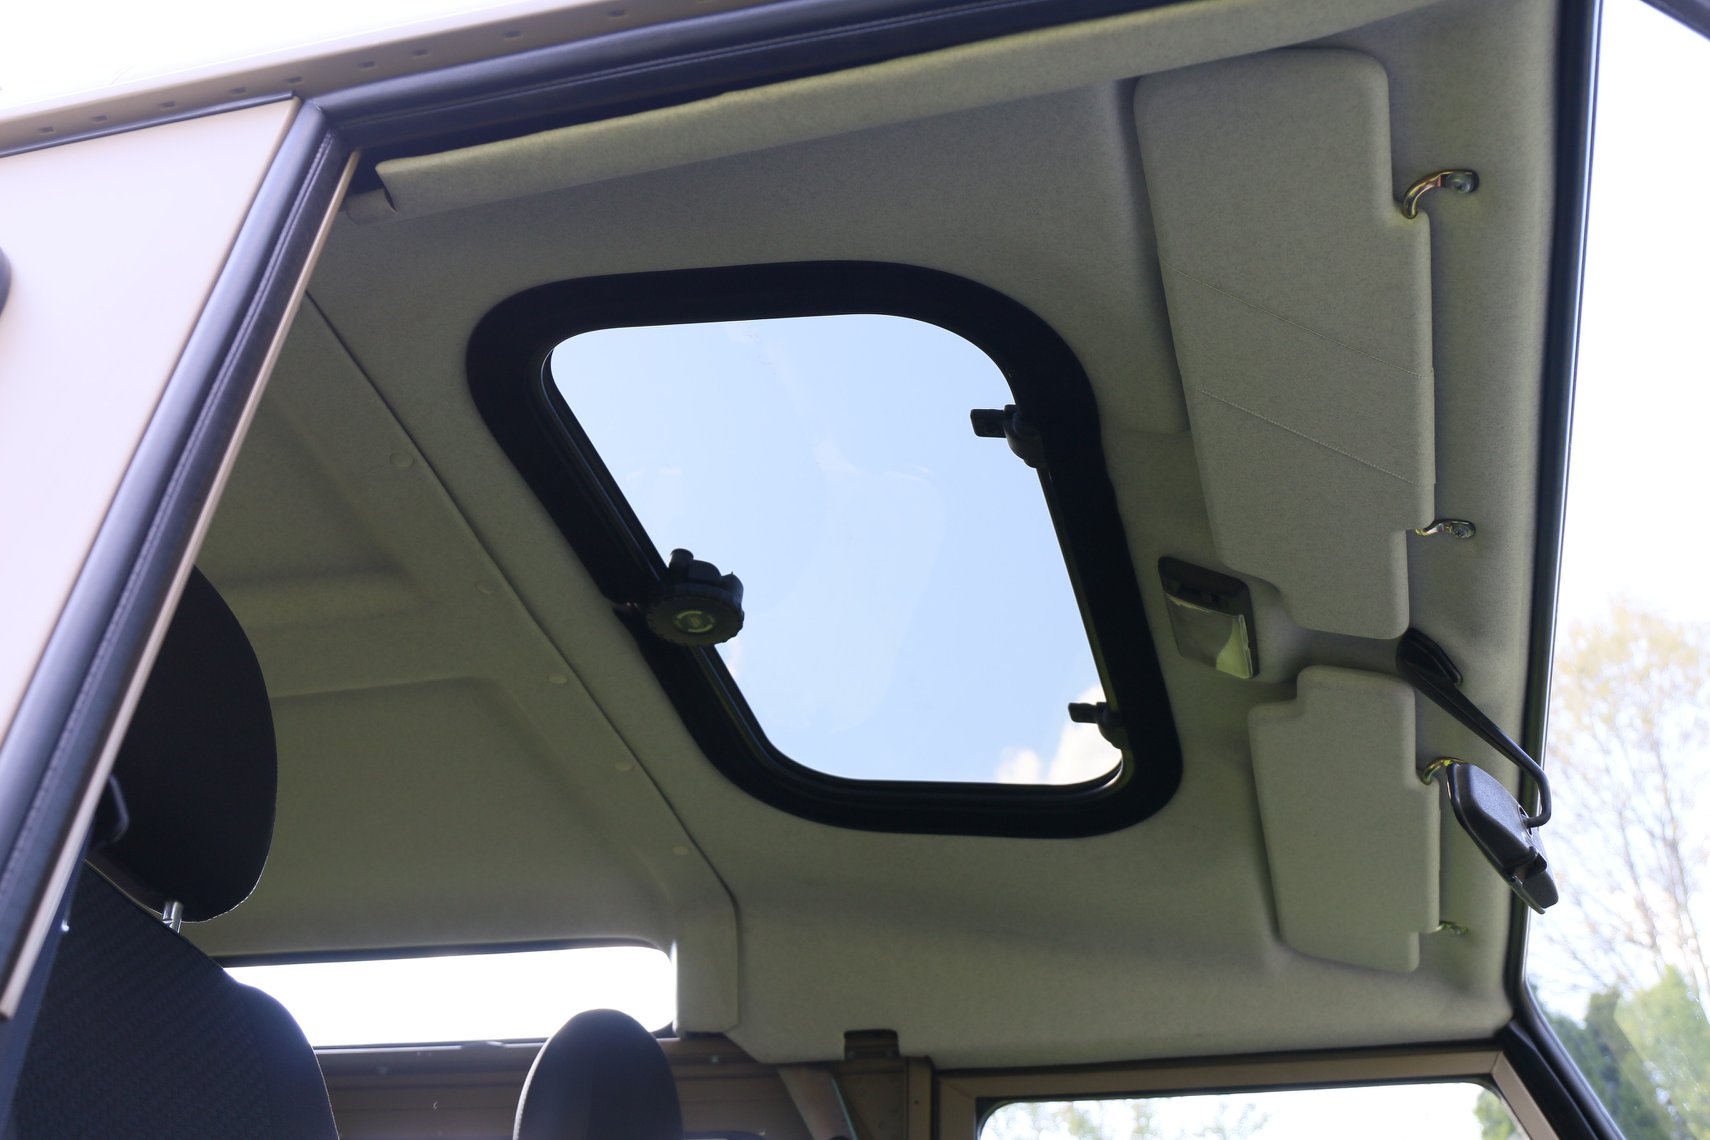
Now that all mechanical aspects of the project have been addressed we can focus on the interior. Options for seat upholstery will now be decided on and new seats purchased. New door panels and headliner will be installed. The gauges will be upgraded to VDO units that are more accurate and have much better backlighting than the stock gauges. The floor can be lined with either rubber mats or carpeting depending of the customerʼs preference.
It is now time to turn the key and fire up the engine. Hearing the rebuilt engine come to life is always exciting! Before taking it out for its first test drive, we will thoroughly inspect the Land Rover following our pre-test drive check list. Once the initial test drive is complete we will put 100 test-drive miles on the vehicle. Your newly restored Land Rover is now ready for delivery to its new home, where it will provide decades of faithful service and help make wonderful memories that will last a lifetime.